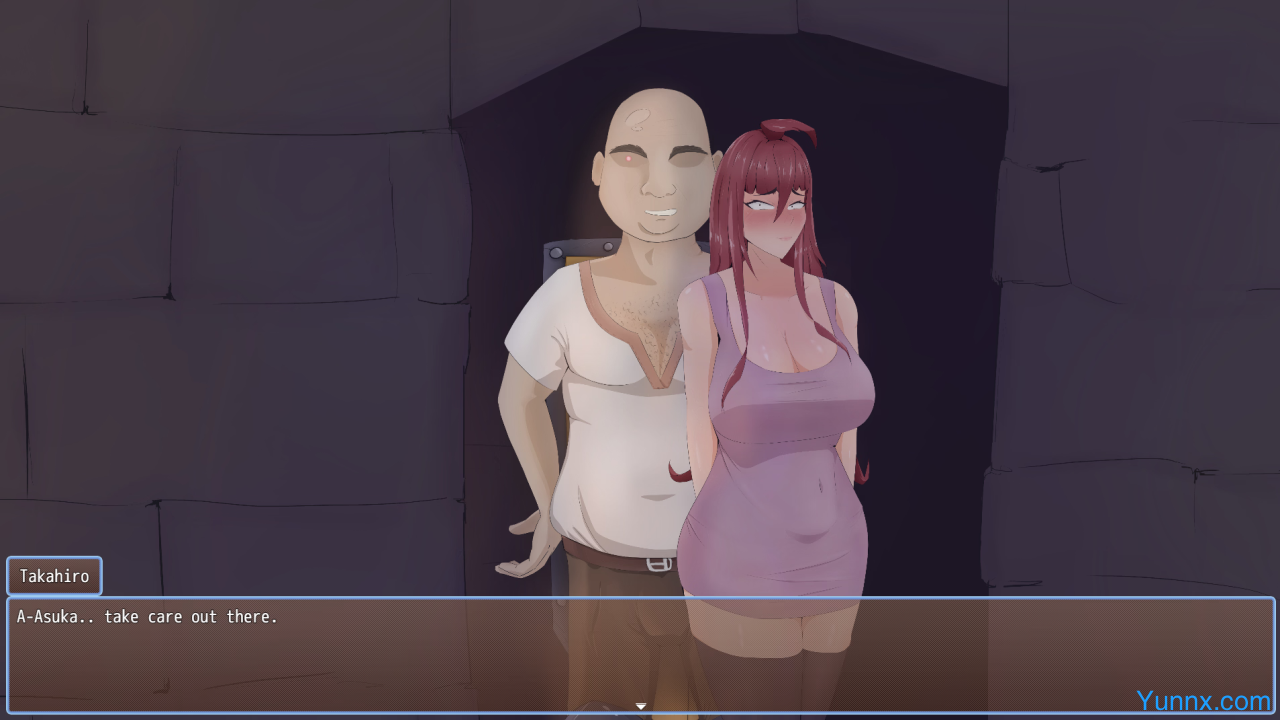
The world of Auria runs on rumors — and the one that dragged you here is the good kind: a remote town, a cave system carved out by something nobody remembers anymore, and artifacts inside that can change an adventurer's luck for life. You show up with Asuka — your wife and the reason you still bother calling yourself a team — and Tekumi, your longest-running companion who knows your bad habits better than you do. The plan is simple: loot the upper chambers, flip what you find, and get out before the local legends get literal. Then Sadao intercepts you. Local guide, knows the cave system like the back of his hand, smiles with too many teeth, and offers his services in a way that isn't really an offer. You say yes because you need him. That's your first mistake — and the game makes very sure you feel it.
The Setup — A Couple, a Cave, and the Guy Who Shouldn't Be There
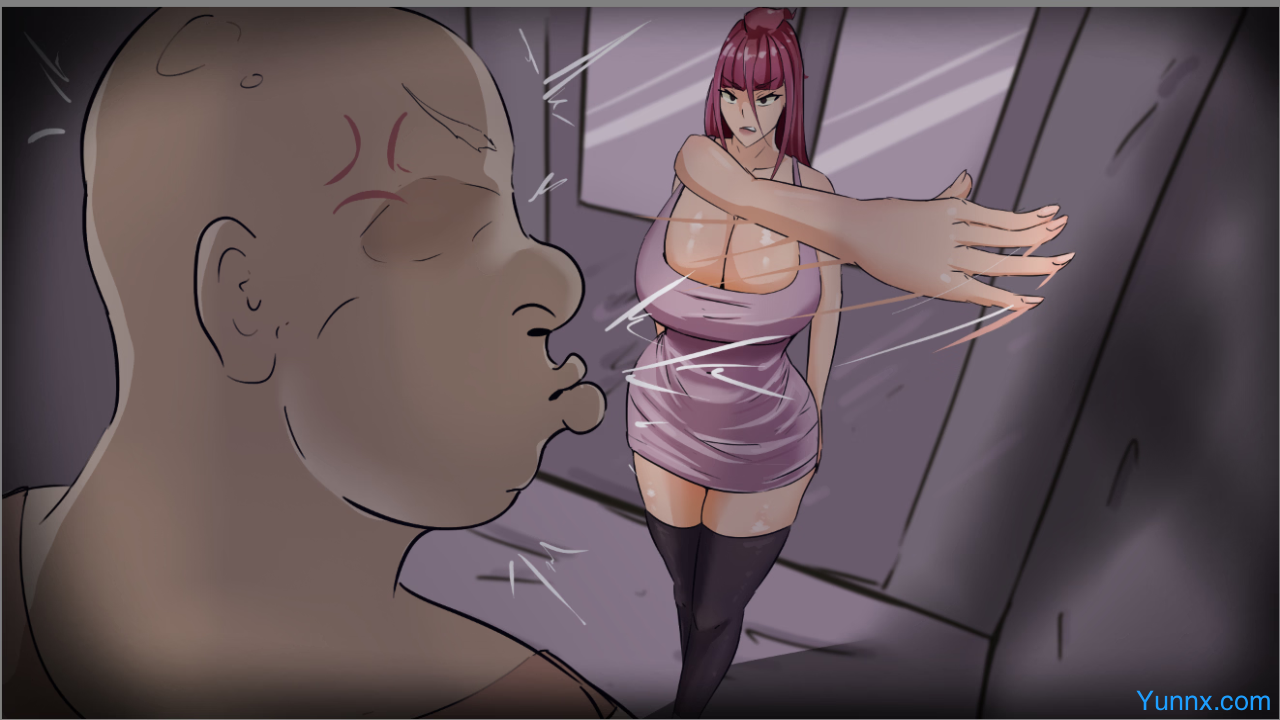
1. The tension doesn't kick off with a jumpscare or a boss fight — it kicks off with social pressure you can't easily deflect. Sadao positions himself as indispensable: he knows which shafts are stable, which pools are poisoned, which tunnels loop back on themselves and swallow parties that don't have a native guide. Refusing him means losing the expedition's payoff. Accepting him means accepting a third wheel who watches Asuka a little too closely and tests boundaries a little too casually. The writing lives in that discomfort — not screaming "this is evil" from frame one, but letting the wrongness accumulate in small moments until you realize you've been tolerating it for three hours of playtime.
2. Once you're underground, the power balance shifts fast. The cave system is big enough to matter — 4 main regions, plus side dungeons, trap corridors, and maze sections where the map literally stops being trustworthy. Random events fire throughout: some are windfalls (loose treasure, safe pockets, shortcut discoveries), others are the kind that split the party or drain supplies or put Asuka just out of arm's reach at exactly the wrong time. The game's best trick is making you feel that distance — not as a scripted cutscene but as a mechanical reality you're navigating in real time.
3. Asuka isn't a passive trophy. She's a capable adventurer in her own right — which makes what happens next sting more, not less. Sadao's "guidance" comes packaged with training sessions where he volunteers to drill her on survival techniques, positioning, and stamina… and the game leaves it to you whether those sessions stay professional or slide. Your call. Your risk. Your consequences.
Core Systems — Willpower, Separation Dungeons, and the "Avoidable but Hard" NTR Loop
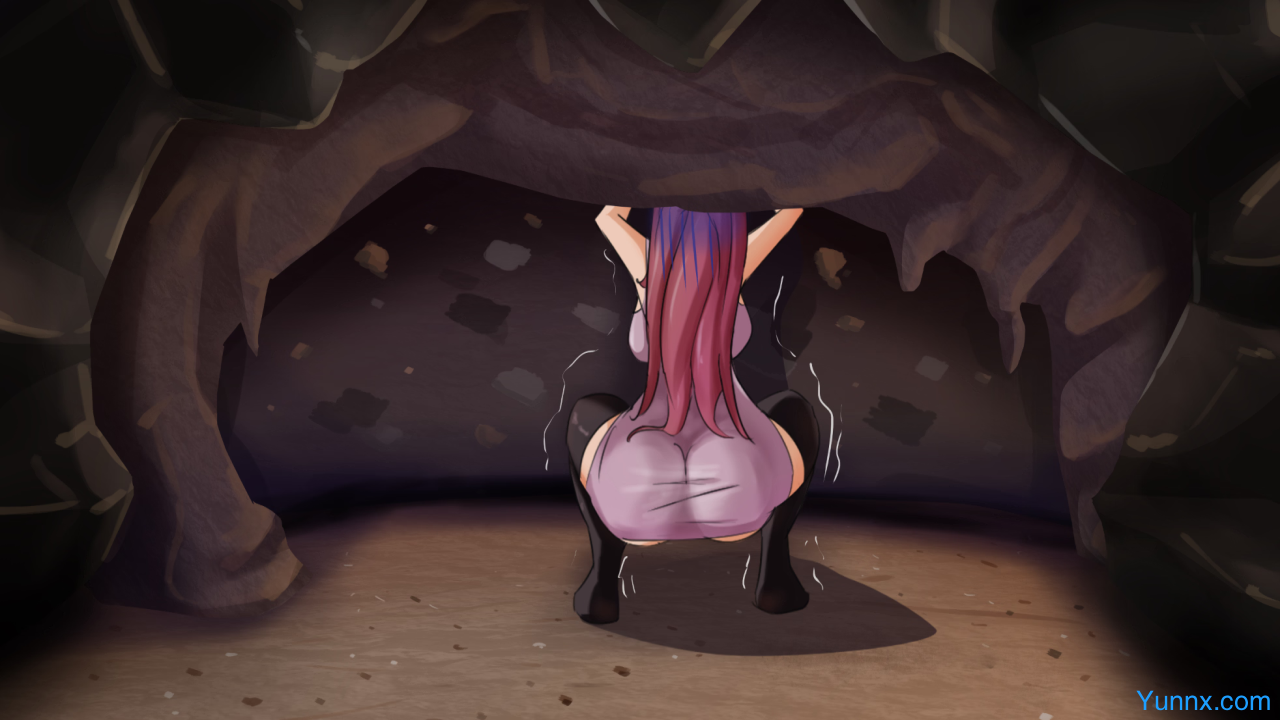
1. The stat that secretly runs everything is Asuka's Will. It's not just flavor text — it's a live number that tracks resistance versus submission across the run, modified by what she's seen, what's happened to her while separated from you, and how often you've let Sadao steer the situation "for efficiency's sake." High Will = she shuts him down, stays loyal, and the darker content stays at bay. Let it erode, and the same events start resolving differently — dialogue curdles, her expressions in CGs shift, and the ending ladder rearranges itself under your feet.
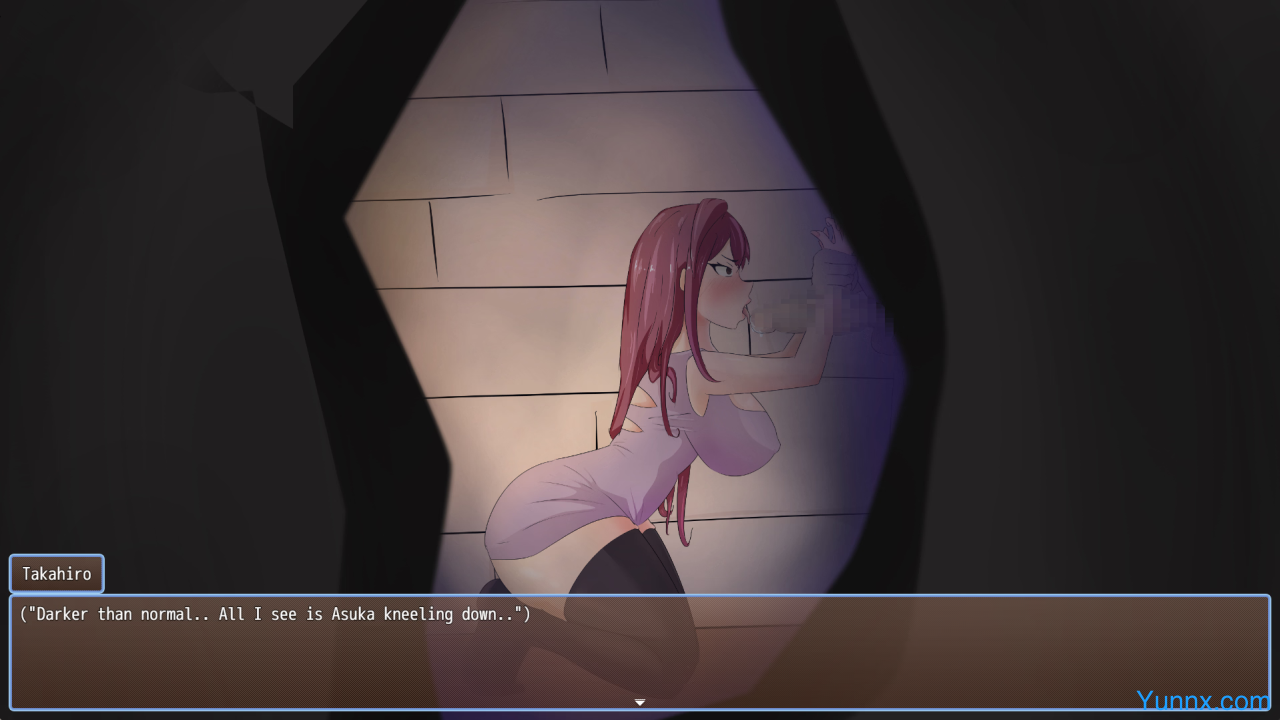
2. The signature mechanic is the separation dungeon: there are stretches where you must proceed alone — narrow crawlspaces, unstable bridges, hazard zones — while Asuka waits or gets escorted by Sadao along a parallel route. During these segments you can sometimes peek through cracks and fissures, catching audio and partial visuals of what's happening on her side. What you witness (or fail to witness, because you took a wrong turn and missed the crack) feeds back into both characters' mental states. It's voyeuristic by design, but it serves the narrative — you're not just watching; you're realizing how little control you actually have over a wife you thought you were protecting.
3. Combat exists but stays lean — a light, parameter-driven system where Takahiro fights solo while Asuka and Sadao stay out of direct battle (the rationale for which unfolds as the story progresses). Strategic choices matter more than grinding: energy management, knowing when to disengage, and whether you've geared Asuka well enough that she's safe even when you're not beside her. There's even a sauna mini-boss tucked into the downtime areas that veterans mention as a surprising mid-build highlight — requires actual preparation, not just level-scaling.
Endings, Content Scope, and the "Pure Route" No One Said Would Be Easy
1. Four endings total, one of them the true ending, all gated by a mix of Asuka's Will, your decision history with Sadao, and how aggressively you pursued (or dodged) the cave's deeper secret. The developer is upfront about the NTR framing: it is avoidable — you can walk away with your marriage intact and the "pure" outcome — but the game is built so that avoiding it means making the harder, less profitable, pride-swallowing calls at every fork. Convenience is Sadao's best weapon, and the game knows it.
2. Content volume sits at 20–25 main story sex scenes plus a healthy amount of additional 18+ artwork — peeping events, suggestive training sequences, corruption-leaning encounters whose specifics depend on how far the Will stat has dipped. The CG work is paired with a clean inventory / Asuka-status UI so you're never hunting menus wondering what number did what. Shop keeps things tight too — no bloated junk inventory, just essentials you'll actually burn through while spelunking.
3. Replay value lives in the randomization and the parameter-dependent scene branching: same region, same map skeleton, but different event rolls and different Will trajectories make the second run feel like a different negotiation. If you're coming at it for the gallery, the walkthrough crowd's consensus is simple — guard Asuka's autonomy early, don't outsourcing her "training" to Sadao for convenience, and when the cave offers you an easy out that requires leaving her side… that's exactly when you shouldn't take it.