How to edit videos with CapCut? Complete tutorial on CapCut template usage and editing techniques
May 21, 2026
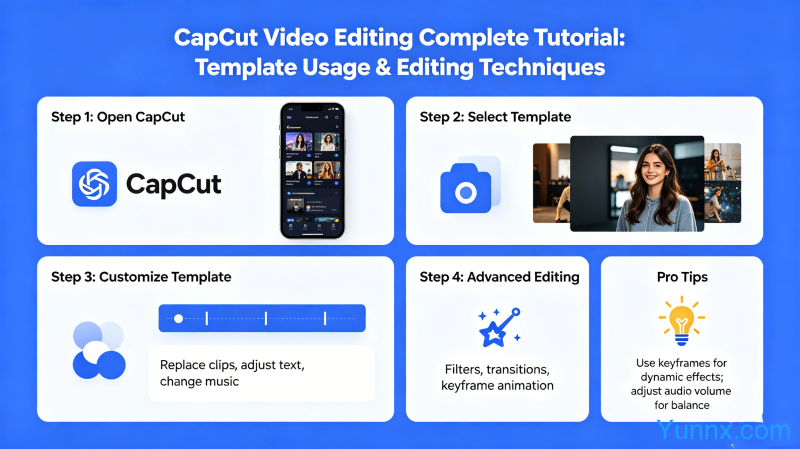
CapCut is a popular free video editing tool under ByteDance. With its simple interface, powerful AI features, and rich template resources, CapCut has become one of the fastest-growing mobile video editing software globally. Many novice creators are wondering: how does CapCut edit videos? What are the efficient editing tips for CapCut? This article will provide a complete tutorial from beginner to advanced levels.
CapCut download and interface introduction: the first step to get started quickly
The main interface of CapCut is divided into three core areas: Media Library, Preview Window, and Timeline. The Media Library is located on the left side, displaying all imported videos, images, and audio materials; the Preview Window is in the center, showing the current editing effect in real time; and the Timeline is at the bottom, serving as the core workspace for editing operations, including multiple editable layers such as video tracks, audio tracks, and text tracks. Familiarizing yourself with the interaction logic of these three areas is the foundation for mastering CapCut.
Basic editing operations in CapCut: cutting, splitting, speed adjustment, and transition
The most basic operations in video editing are cutting and splitting. Cutting refers to trimming off the unwanted parts at the beginning and end of the video, while retaining the core content in the middle; splitting, on the other hand, involves cutting a continuous video clip into two or more segments for separate editing. The method for cutting in CapCut is as follows: drag the video into the timeline, and then drag the blue handles on the edges of the video clip to adjust its start and end points. The method for splitting is as follows: move the playback head to the desired time point for splitting, and click the "Split" button in the toolbar (or press the keyboard shortcut S).
Speed adjustment is a commonly used technique in short video creation. CapCut's speed adjustment feature supports a range from 0.1x to 10x. Common application scenarios include: fast-paced beat videos often use 1.5-2x acceleration; videos showing processes (such as cooking tutorials, crafts) use 0.5x slow motion to highlight details; cinematic videos use 30%-50% slow motion to enhance visual tension. The path for speed adjustment operation: select the video clip on the timeline and click the "Speed" option in the toolbar.
Transition effects are transitional animations that connect two video clips. CapCut has built-in more than 100 transition effects, ranging from basic fade-ins and fades, zooms, and rotations to advanced blurring, light effects, texture overlays, and more. To add a transition, click on the connection between two adjacent video clips. A small yellow square icon will appear. Clicking on the icon will open the transition selection panel. It is important to note that more is not always better when it comes to transitions. Abusing fancy transition effects can actually make the video appear cluttered and unprofessional.
CapCut Audio Processing: Background Music, Sound Effects, and Recording Techniques
Audio is the soul of short videos, and a good background music can significantly enhance the viewing experience and completion rate of videos. CapCut has a rich music library built-in, covering various genres such as pop music, background music, and rhythmic music. To add music, click the "Audio" option on the top left corner of the timeline to enter the audio selection page. You can browse music from categories such as "Recommended", "Popular", and "Latest", or you can directly search for song titles or genre keywords. It is important to note that some music in CapCut's music library is only for non-commercial use.
Audio effects are crucial elements in enhancing the viewing experience of videos. CapCut offers thousands of audio effect assets, spanning various genres such as button clicks, ambient sounds, humorous effects, and transition sounds. To add audio effects, navigate to the "Audio" tab and select the "Audio Effects" section. Browse or search for the desired audio effect and drag it onto the timeline. Typically, audio effects are positioned at points in time that align with video events. The principle of using audio effects is "moderation" - excessive use can overshadow the main content and hinder the audience's comprehension of the message.
CapCut also supports a recording function, allowing users to record voice-over or narration for their videos. Recording method: Click the "Record" button (microphone icon) on the timeline, speak the content you want to record into the device, and after recording is complete, an audio clip will be automatically generated and added to the timeline. The recording function is particularly suitable for content explanation in knowledge and tutorial videos. If there is noise in the recording environment, you can use CapCut's "Noise Reduction" function to reduce the interference of background noise.
Using CapCut templates: The advanced path from applying templates to independent creation
One of the most popular features of CapCut is its template library, where users can directly apply video templates designed by other creators to quickly generate high-quality video works, eliminating the need to start editing from scratch. Path to use templates: Open CapCut, click the "Templates" option on the homepage, and enter the template store. Templates are categorized by content and style, including various types such as "Beat Video", "Birthday Blessings", "Vlog Opening", "Product Demonstration", and "E-commerce Main Image Video".
After finding a template you like, click the "Use Template" button. All preset video clips and editing parameters in the template will be imported into the current project. Then, simply replace your own material with the placeholders in the template to generate a complete video. It is important to ensure that the duration and proportion of the material match the requirements of the template, otherwise there may be issues such as distorted images or abnormal playback.
From applying templates to independent creation is the essential path for every CapCut user to progress. It is recommended to start by extensively imitating templates in the early stages to familiarize oneself with CapCut's various functional operations. Then, when using templates, try to modify certain parameters on your own, gradually understanding the role of each function. As familiarity with the tool increases, you can try starting from a blank project to create your own original videos.
CapCut special effects and AI functions: Enhancing video visual impact
CapCut's special effects library provides a wealth of visual enhancement tools, including filters, stickers, animation effects, and AI black technology. Filters are the most basic and effective means of visual enhancement. CapCut has hundreds of preset filters built-in, covering various styles such as natural light, cinematic, retro, black and white, high contrast, and more. To add a filter, select the video clip on the timeline, click the "Filter" option above the preview window, choose your favorite filter, and adjust the intensity slider.
AI functionality is the core competitiveness that sets CapCut apart from traditional editing tools. CapCut's AI features include: AI intelligent keying (separating characters from the background and replacing them with any new background), AI intelligent cropping (automatically identifying the subject of the video and adjusting the composition), AI automatic subtitle generation (recognizing speech in the video and generating synchronized subtitles), AI video enhancement (enhancing video resolution and clarity), and AI automatic editing (analyzing video content to automatically generate segmentation markers). These AI features greatly lower the technical threshold for video editing.
AI-generated subtitles are one of the most practical AI functions. Traditional subtitle addition requires manual word-by-word input or the use of professional subtitle software, which incurs extremely high time costs. CapCut's AI subtitle function can automatically recognize all speech in a video and generate subtitle text that matches the timeline within one minute. Users only need to perform simple proofreading and format adjustments on the recognition results.
CapCut Export Settings and Platform Compatibility
Video export settings are the final step in the editing process and a crucial factor determining the final presentation quality of the video. CapCut supports exporting in various resolutions and frame rates, including options such as 720P, 1080P, 2K, and 4K. 1080P is the most versatile choice, offering the best balance between file size and image quality; 4K export generates larger files, suitable for commercial content that needs to be displayed on televisions or large screens; 720P is ideal for social media publishing, saving upload time and data usage. In terms of frame rate, 30fps is the most commonly used frame rate.
Optimizing export settings for different social platforms is also crucial. For Instagram Reels and TikTok, it is recommended to export in 1080P, 30fps, and 9:16 portrait format (resolution 1080x1920); for YouTube videos, it is recommended to export in 1080P or 4K, 30fps or 60fps, and 16:9 landscape format; for WeChat Video and Weibo videos, it is recommended to export in 1080P, 16:9 or 1:1 square format. CapCut provides preset settings for each platform on the export page, and clicking on the corresponding platform automatically applies the recommended export parameters.
Summary
The editing process of CapCut includes: importing materials, cutting and splitting, adding transitions, configuring audio, applying filters, adding subtitles, using special effects, AI function assistance, and finally selecting appropriate parameters for export based on the target platform. After mastering these core operations, creators can efficiently produce high-quality short video content. As a free tool, CapCut's functionality is comprehensive enough to meet the needs of most short video creators. It is recommended that everyone interested in short video creation download and experience it, starting with simple template application, gradually transitioning to independent creation, and ultimately forming their own video style and creative methodology.
Recommend Apps

 SOOP app english version")


